- In your HubSpot account, at the top navigation bar click the ⛭ settings icon.
- On the left hand side select Inbox & Help Desk. Select Inboxes.
- Select Connect Channel and follow the steps to customize you chat window functionality.
- Copy the chatbot embed code provided by HubSpot.
- Paste this code into the HTML of your website where you want the chatbot to appear.
- Return back to the Channel setup window and click Publish.
- In your HubSpot account, navigate to the left side navigation bar and hover over Automations and click the Chatflows.
- In the top right corner select Create Chatflow.
- Select Website and follow the steps to customize your Chatbot. Click Create.
- You can further customize your new Chatbot by hovering over it in the Chatflows main menu and clicking edit.
- Follow the prompts to customize your chatbot’s behavior, such as greeting messages, FAQ responses, and lead capture forms; Configure the chatbot to route conversations to the appropriate team members or departments.
- Once satisfied, in the Chatflows main menu hover over your finished Chatbot and set the Status to On.
- Navigate to CRM > Inbox in HubSpot.
- Here, you can see all messages received via the chatbot, email, and other connected channels.
- Respond to messages directly from the inbox, assign conversations to team members, and use saved replies for quick responses.
- Track conversation history to provide context and ensure a personalized customer experience.
- 🚨CAUTION: DO NOT CONNECT PERSONAL EMAILS
- Please ensure that you do not connect your personal inbox or any other person's personal inbox to the Conversations Inbox. This can lead to private matters being exposed and can be sensitive and embarrassing.
- In order to create a Chabot in Chatflows from step 3 a Channel must first be connected and published under the Inbox Tab of the settings window from step 1. Ensure the steps above are completed in order to avoid setup errors.
- It is recommended all steps are completed within a similar time period. This helps assure that your bot and chat feature is properly deployed to your website.
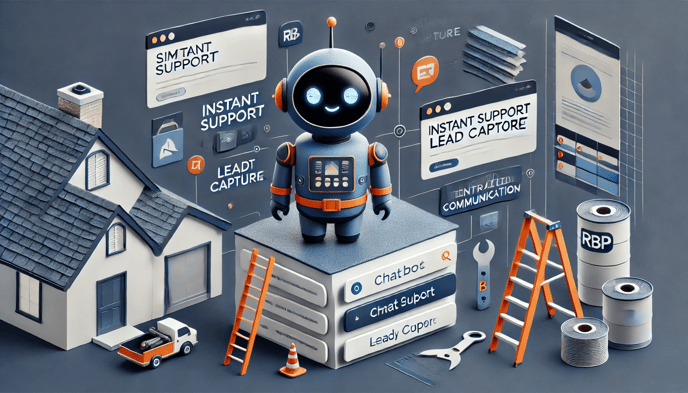
- Instant Support: Provide immediate assistance to website visitors, improving customer satisfaction.
- Lead Capture: Automatically capture leads and route them to your sales team.
- Centralized Communication: Manage all customer interactions in one place for better organization and efficiency.
Get Started Today!
Connecting a chatbot to your website and using the Conversations Inbox can greatly enhance your customer service capabilities. If you need any assistance with this setup or have any questions, feel free to reach out! For your ease, we've added some ways to contact us below.
❓Frequently Asked Questions: Chatbots
We've compiled some commonly asked questions that we think might help you:
- How do I connect a chatbot to my website using HubSpot?
-
You need to first connect a channel in HubSpot’s Inbox & Help Desk, then create and customize your chatbot under Chatflows. The final step is embedding the provided code into your website.
-
-
What types of questions can my chatbot handle?
-
Your chatbot can be programmed to answer FAQs, qualify leads, gather information, and even book meetings or create support tickets based on visitor responses.
-
-
How do I track and manage chatbot conversations?
-
All conversations initiated by the chatbot are collected in HubSpot's Conversations Inbox, where you can manage responses, assign conversations to team members, and track history.
-
-
What should I do if my chatbot isn't displaying on my website?
-
Ensure the HubSpot tracking code is installed on your website. The chatbot won't appear if the tracking code is missing or incorrectly placed.
-
-
Is it possible to customize the appearance of the chatbot widget?
-
Absolutely! You can customize the chat widget’s color, welcome message, and avatar to match your branding.
-
-
How do I ensure GDPR compliance with my chatbot?
-
HubSpot offers GDPR consent options for data collection and processing, allowing you to display consent banners and capture explicit visitor consent before engaging.
-
-
What types of chatbots can I create with HubSpot?
-
You can create a variety of chatbots, including lead generation bots, support bots, FAQ bots, and even chatbots for booking meetings or answering customer inquiries.
-
-
Can I set my chatbot to handle multiple languages?
-
Yes, you can customize the chatbot to respond in different languages by setting the language preferences in the chatbot’s settings.
-
-
What data can my chatbot collect from visitors?
-
Your chatbot can collect information such as names, emails, phone numbers, and specific queries or concerns from visitors, which can then be forwarded to your team.
-
-
Can my chatbot hand off conversations to live agents?
-
Yes, you can configure the chatbot to transfer conversations to live agents once certain criteria are met, such as high-priority inquiries or complex questions.
-
-
How can I track the performance of my chatbot?
-
HubSpot’s analytics tools allow you to track chatbot performance metrics such as engagement rates, conversation completion, lead generation, and customer satisfaction scores.
-